Tampa Bay Buccaneers
Best Pictures from Buccaneers vs. Lions | Week 15
View photos of Tampa Bay's Week 15 matchup against Detroit.

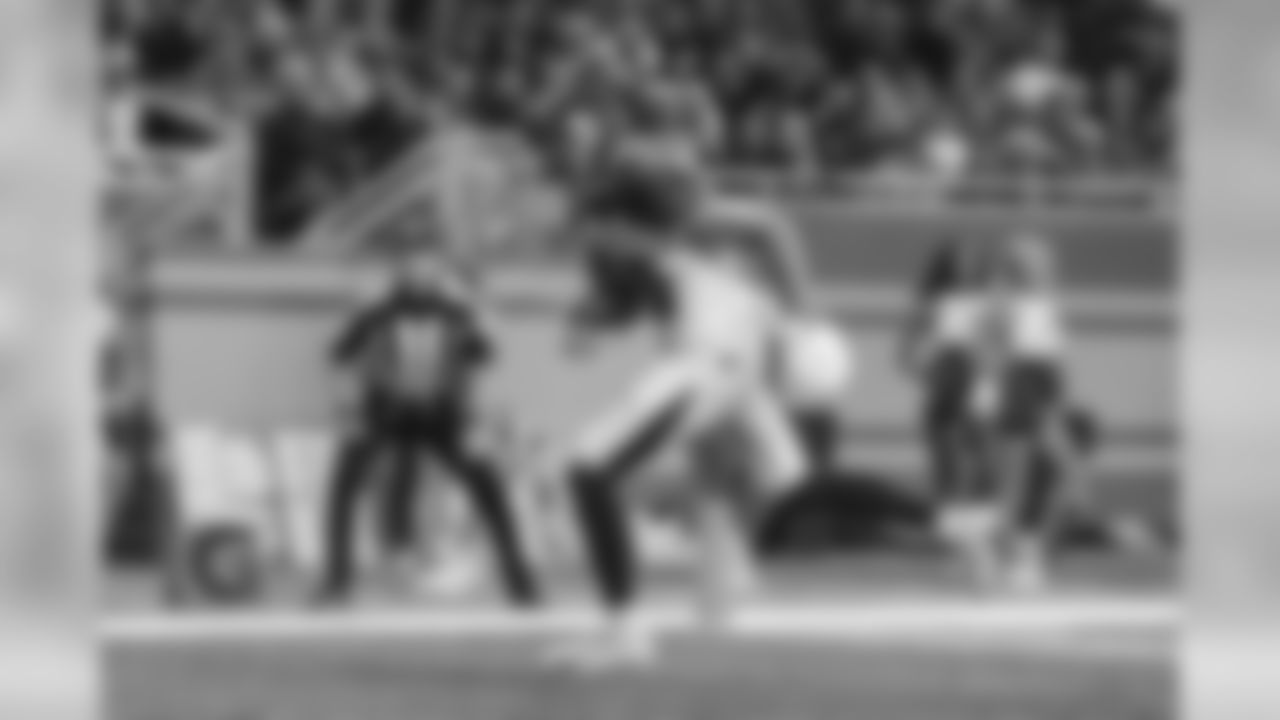
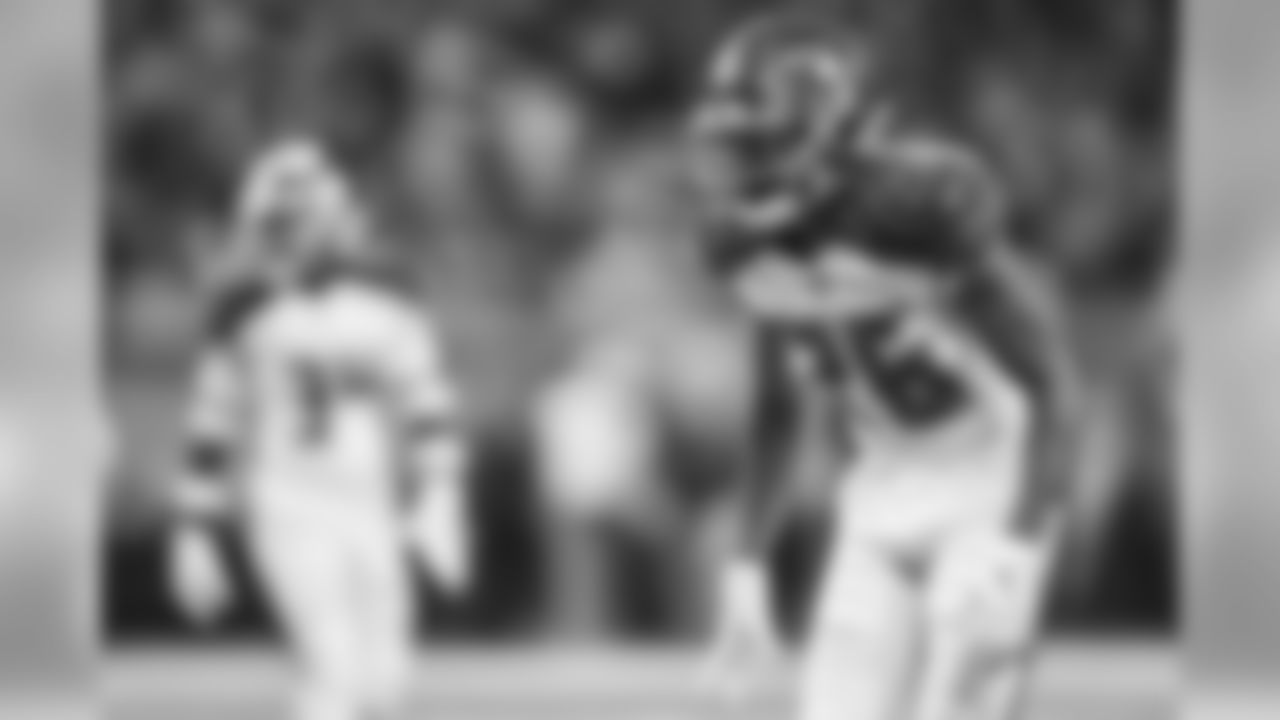
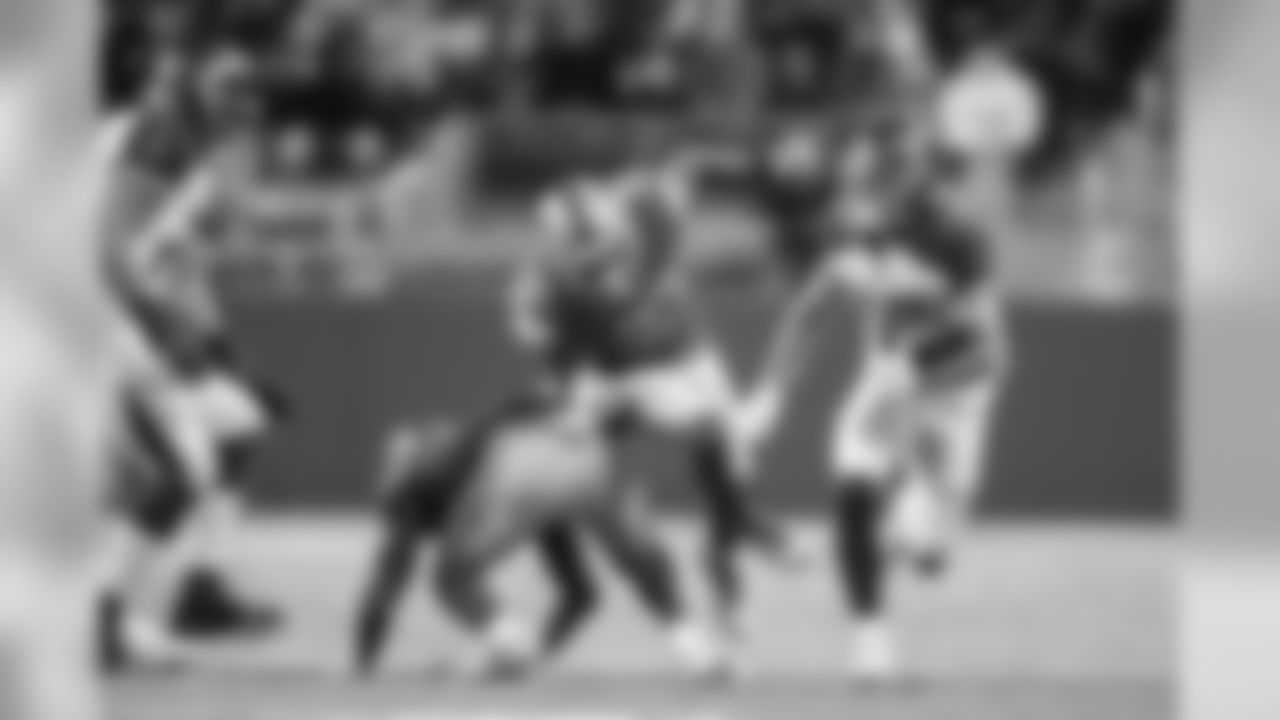
RB Ronald Jones II, No. 27
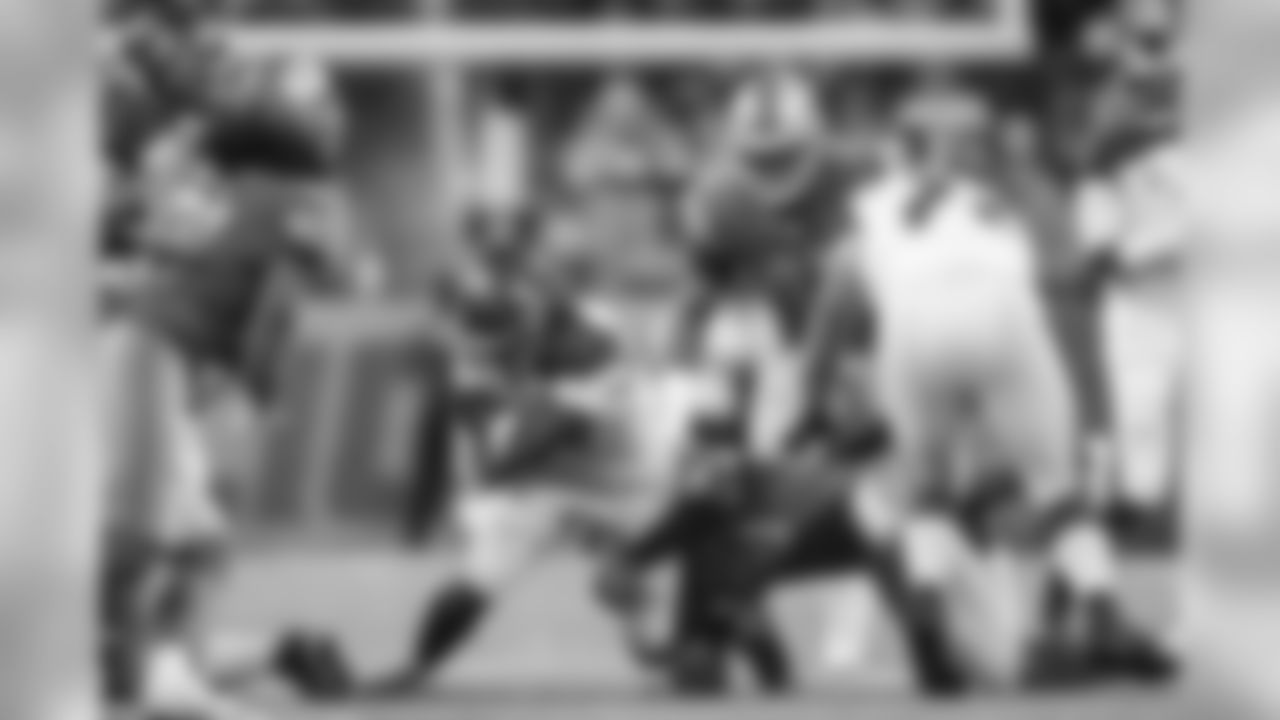
RB Ronald Jones II, No. 27
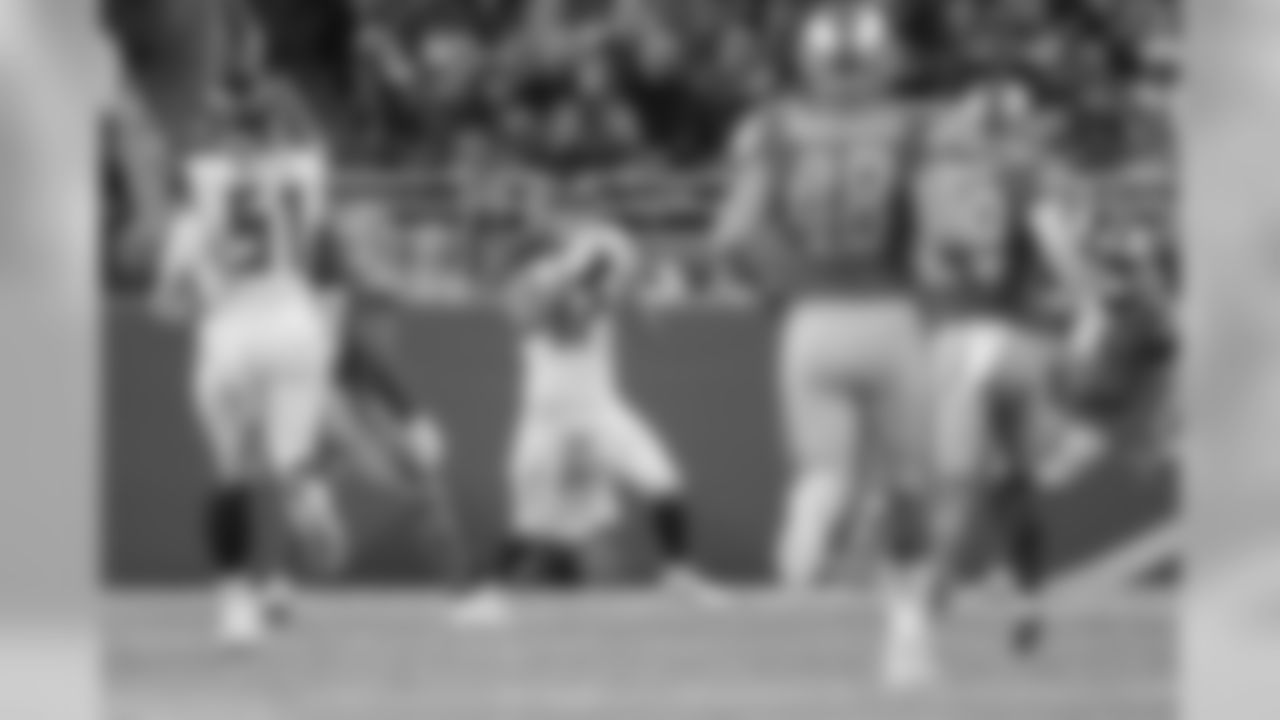
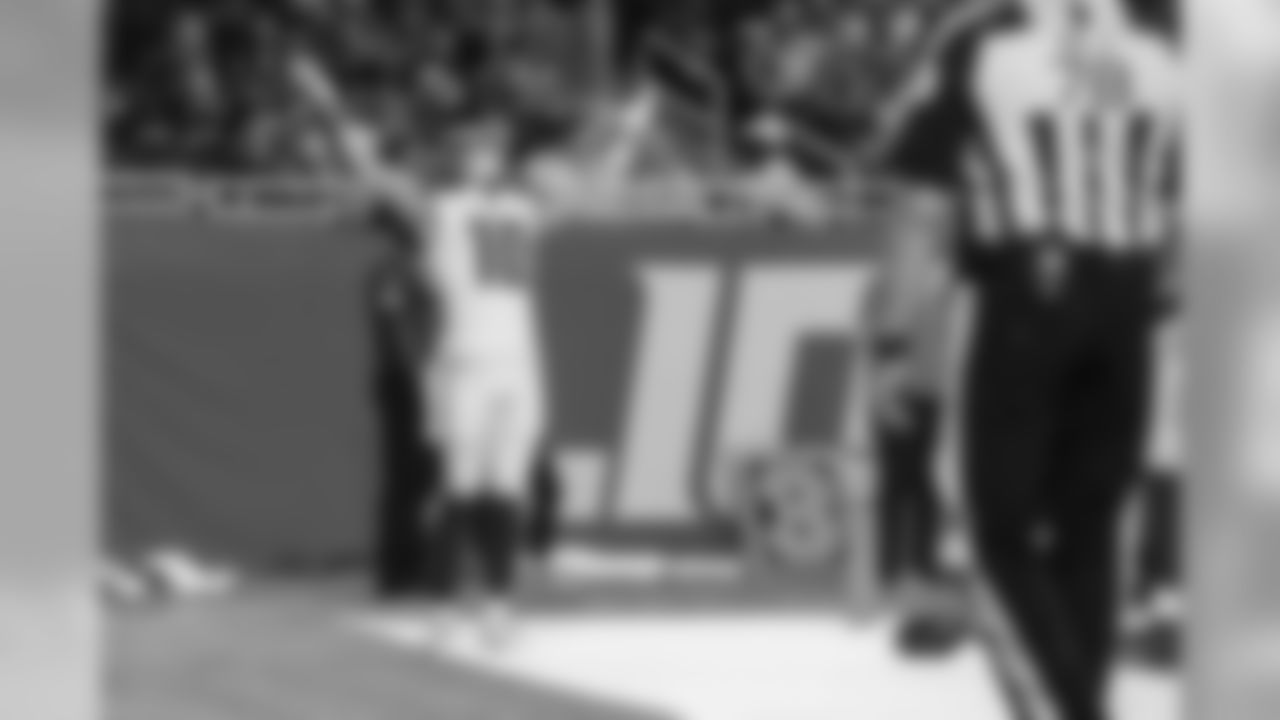
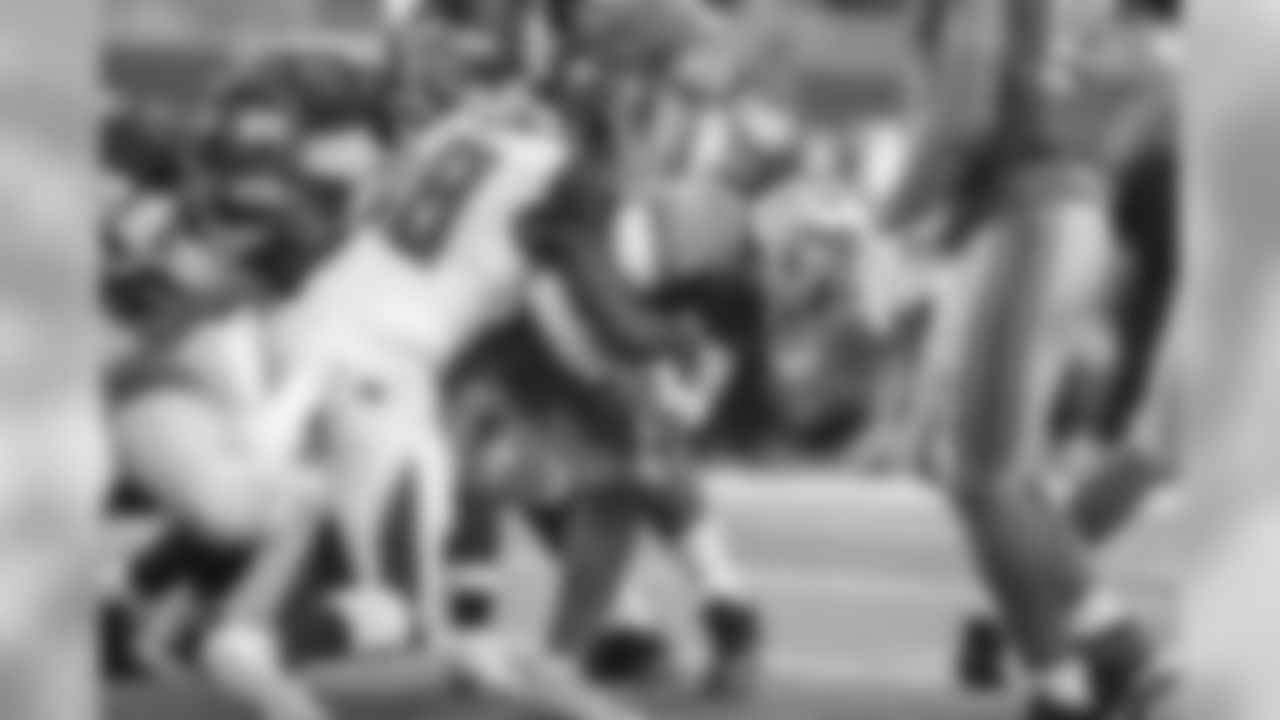
WR Justin Watson, No. 17 & ILB Kevin Minter, No. 51
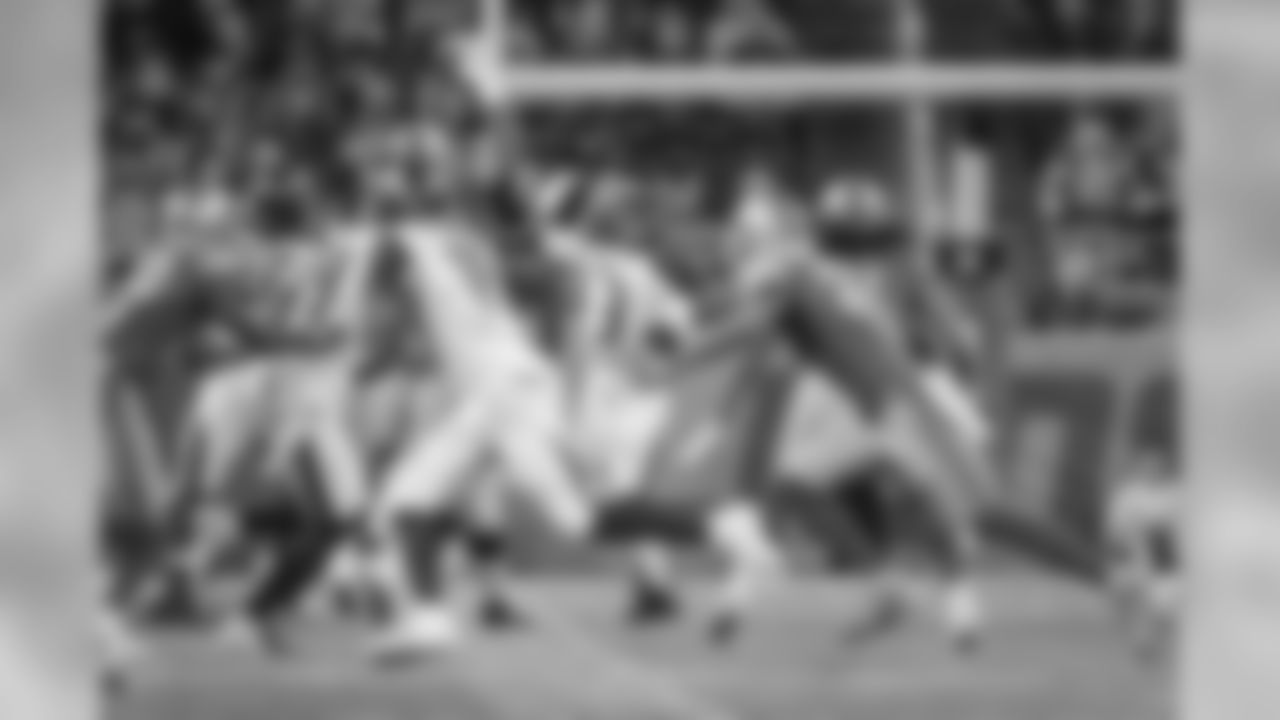
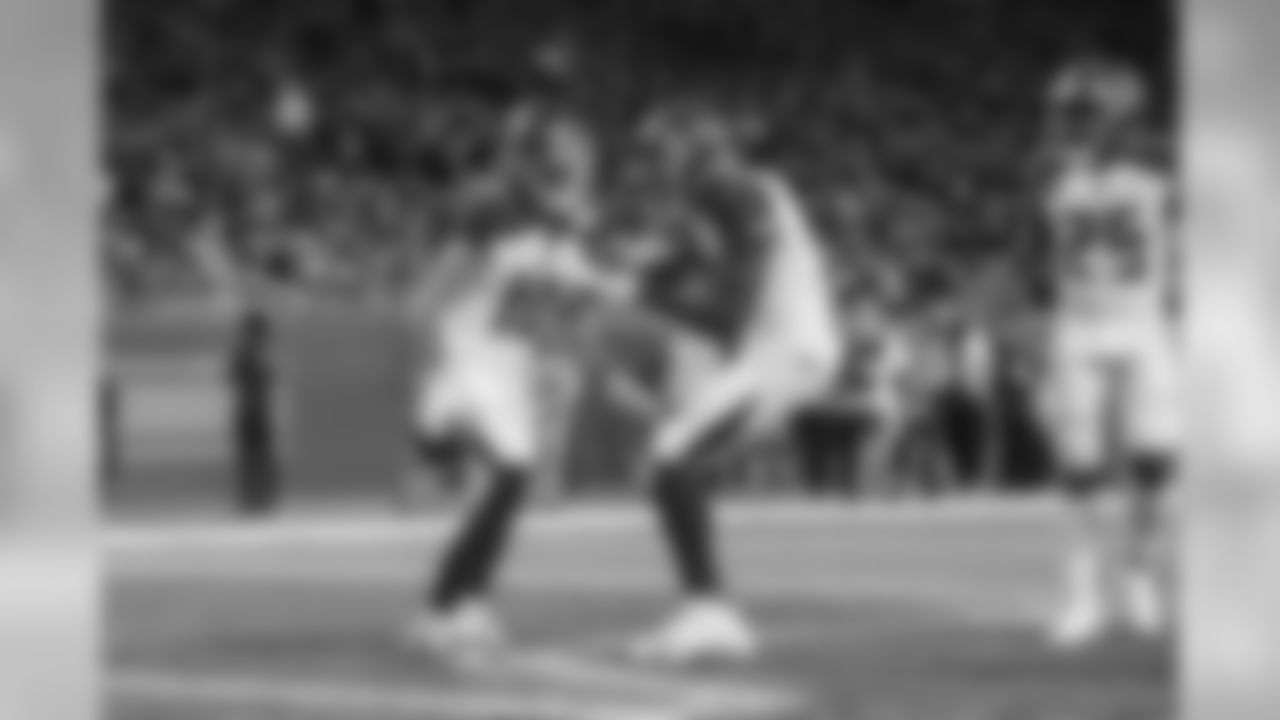
QB Jameis Winston, No. 3
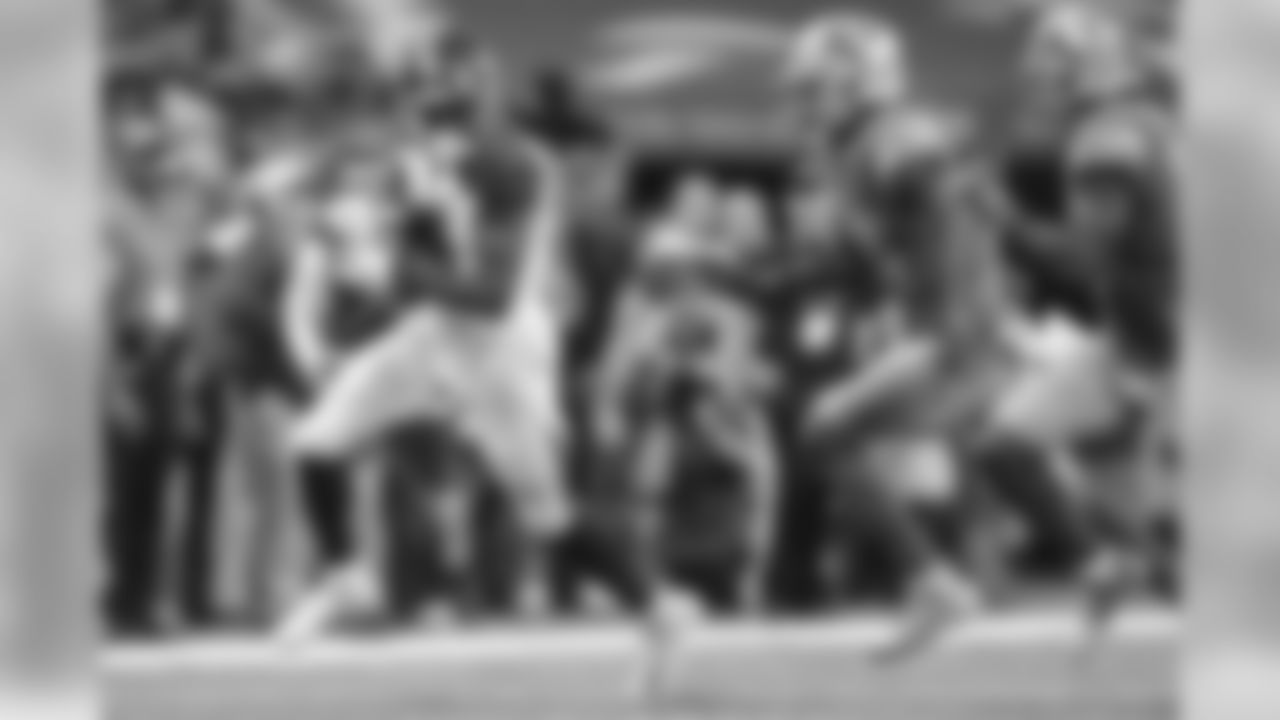
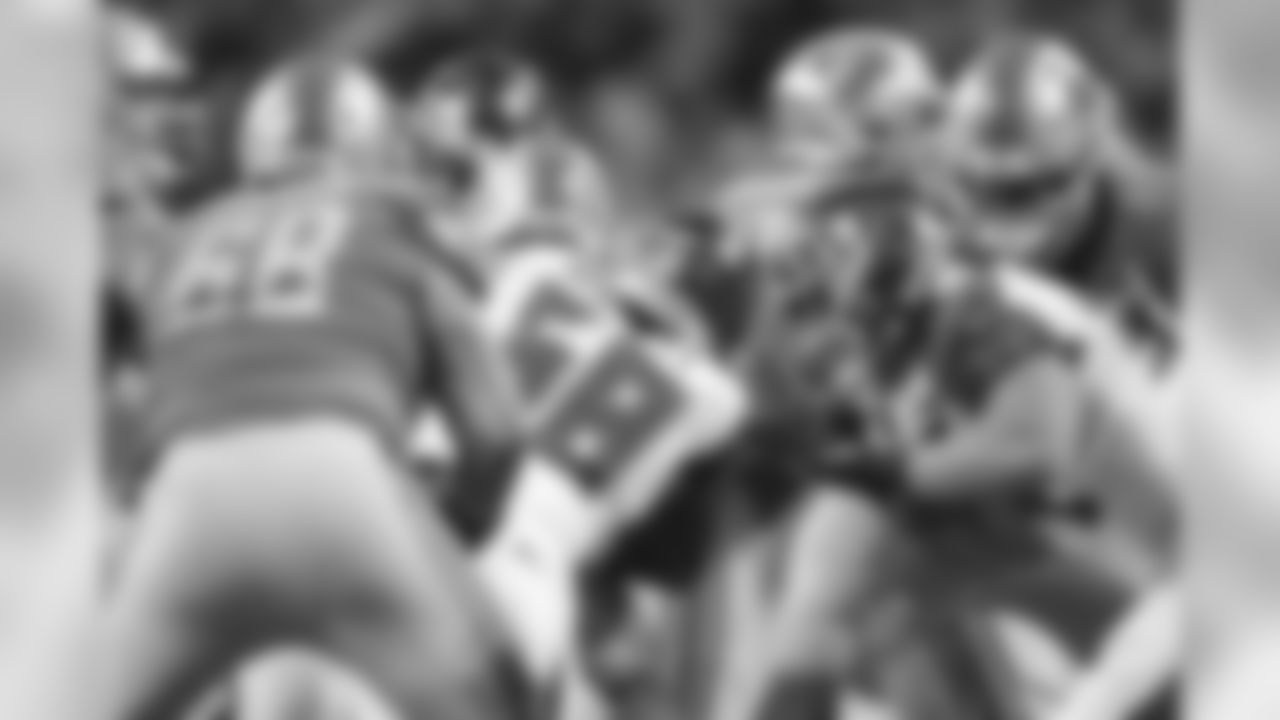
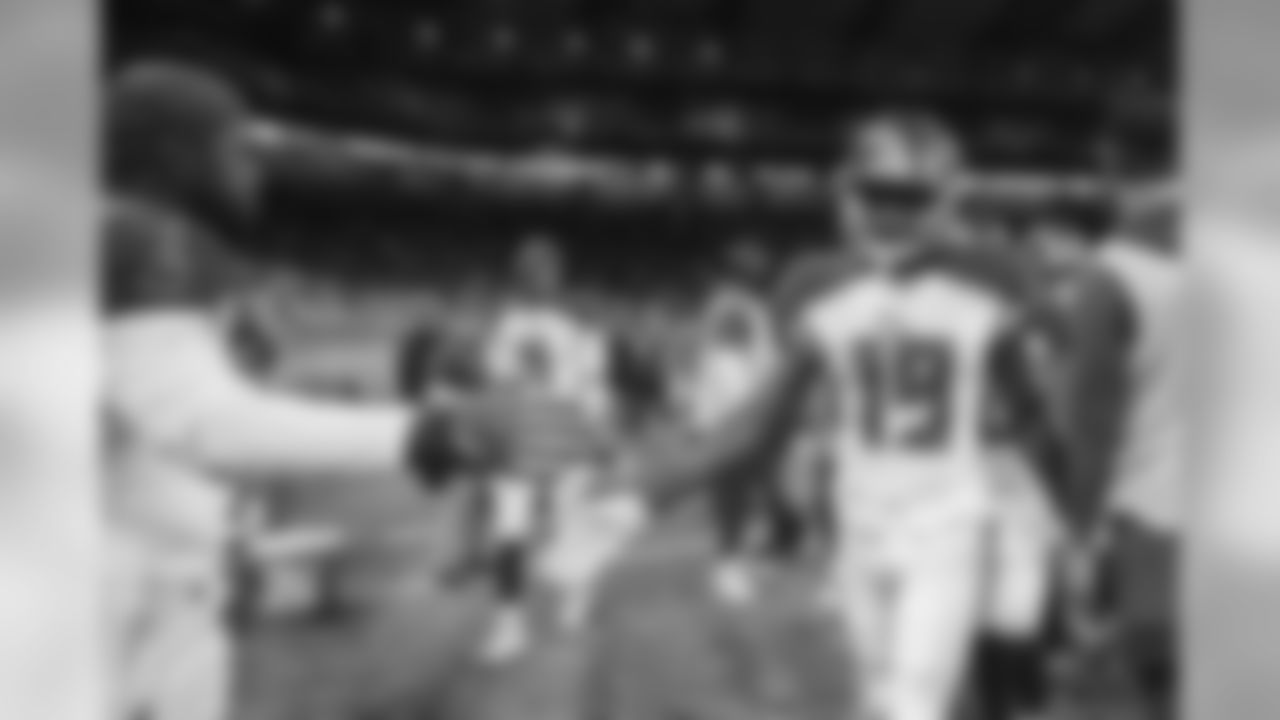
WR Breshad Perriman, No. 19
RB Ronald Jones II, No. 27 & G Ali Marpet, No. 74
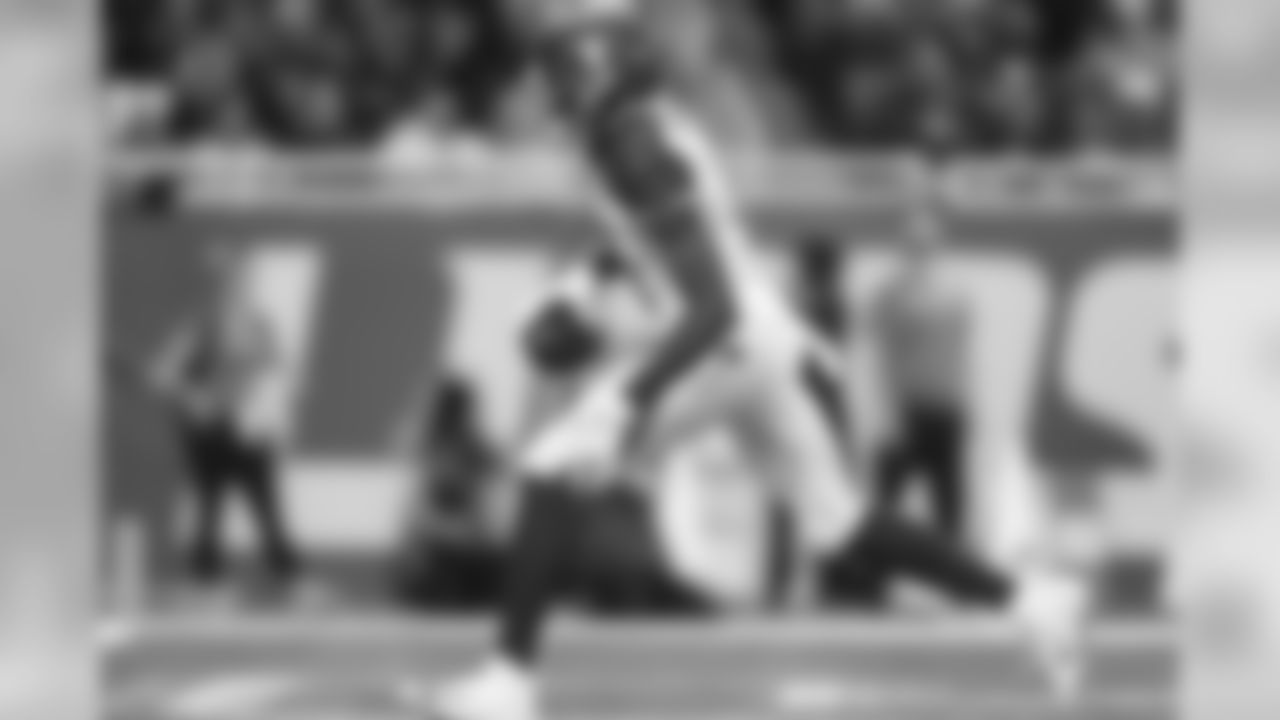
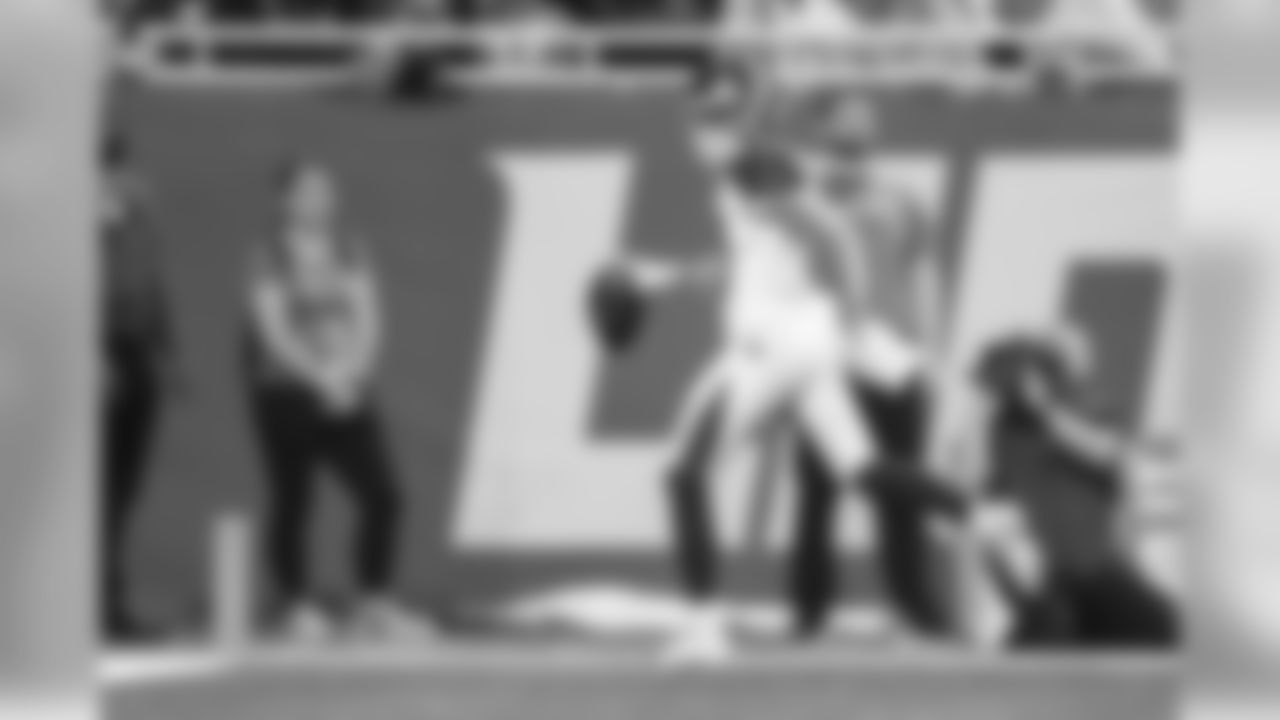
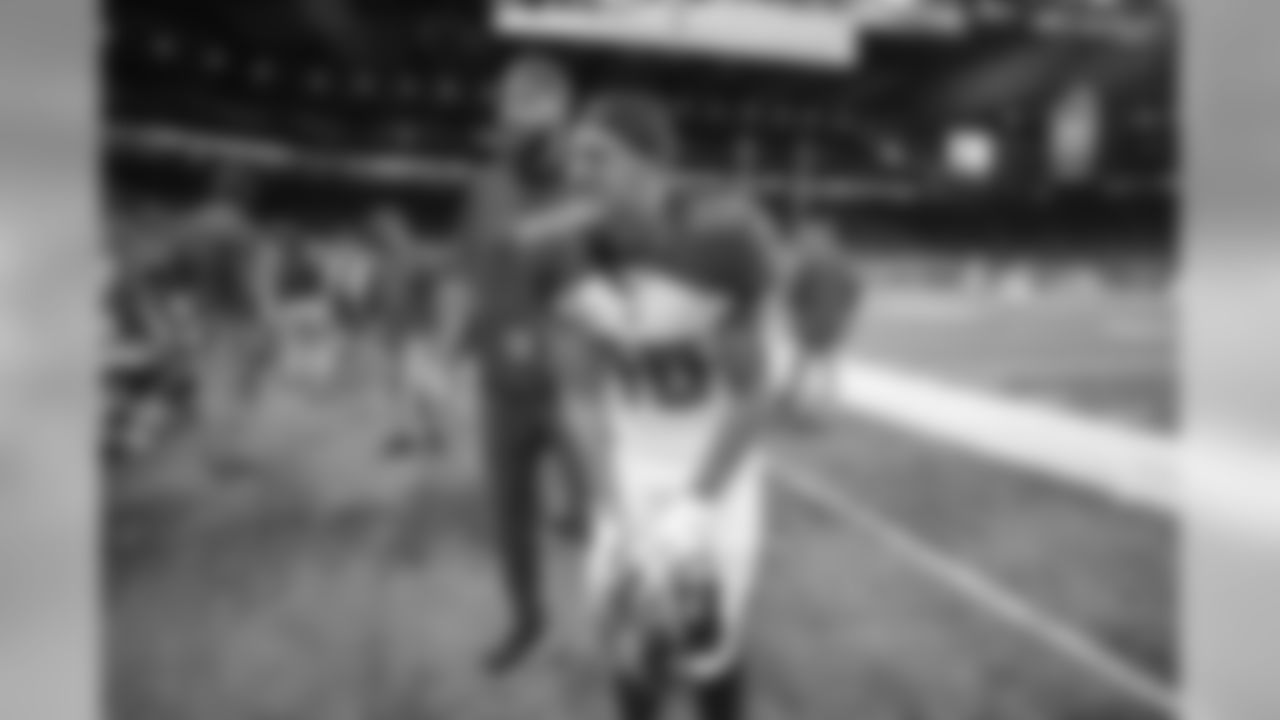
WR Breshad Perriman, No. 19
WR Breshad Perriman, No. 19
WR Breshad Perriman, No. 19
DL Ndamukong Suh, No. 93
OLB Shaquil Barrett, No. 58

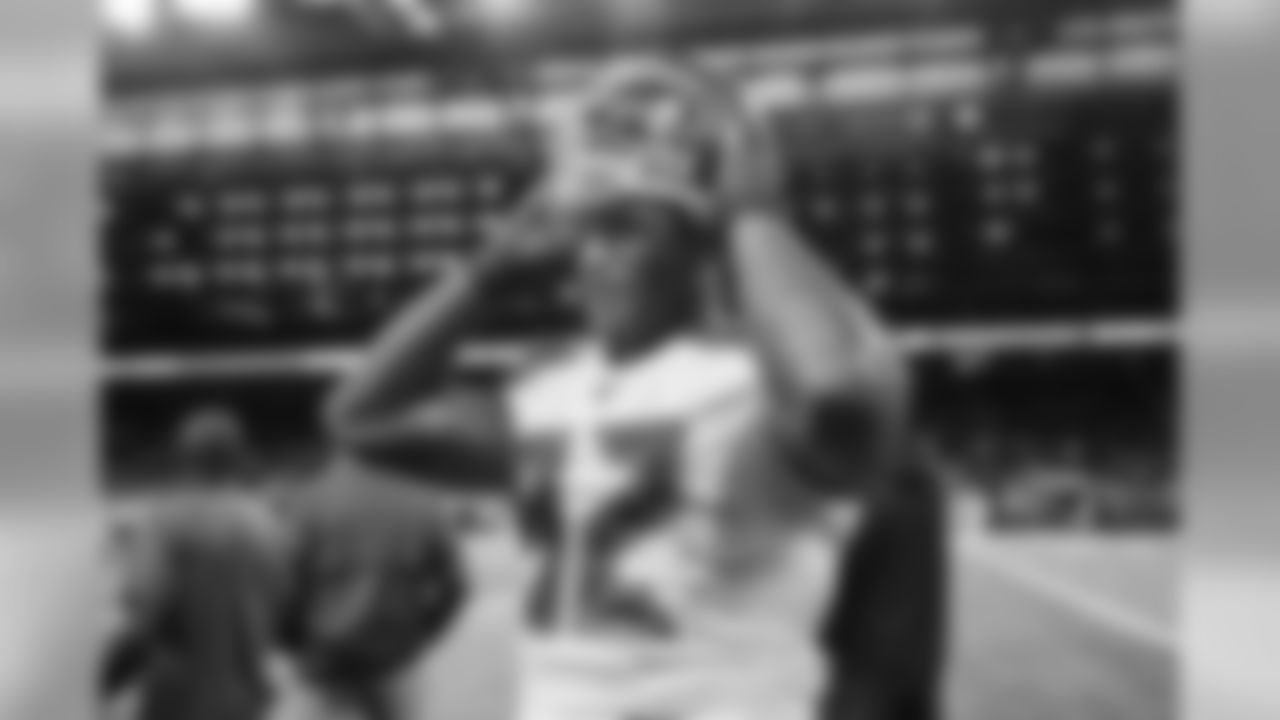
WR Chris Godwin, No. 12
WR Chris Godwin, No. 12
WR Chris Godwin, No. 12
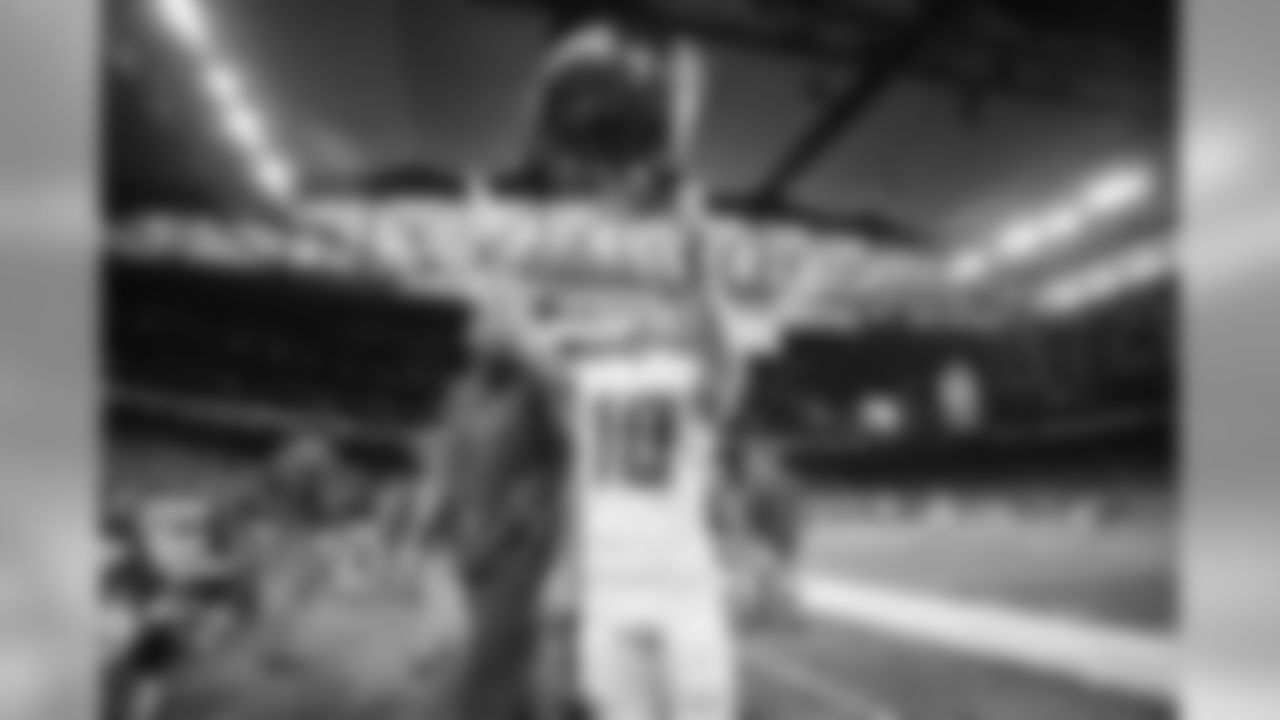
WR Scotty Miller, No. 10
WR Scotty Miller, No. 10
WR Scotty Miller, No. 10 & WR Breshad Perriman, No. 19
OLB Shaquil Barrett, No. 58
OLB Shaquil Barrett, No. 58
QB Jameis Winston, No. 3, G Alex Cappa, No. 65, C Ryan Jensen, No. 66, G Ali Marpet, No. 74
WR Ishmael Hyman, No. 18
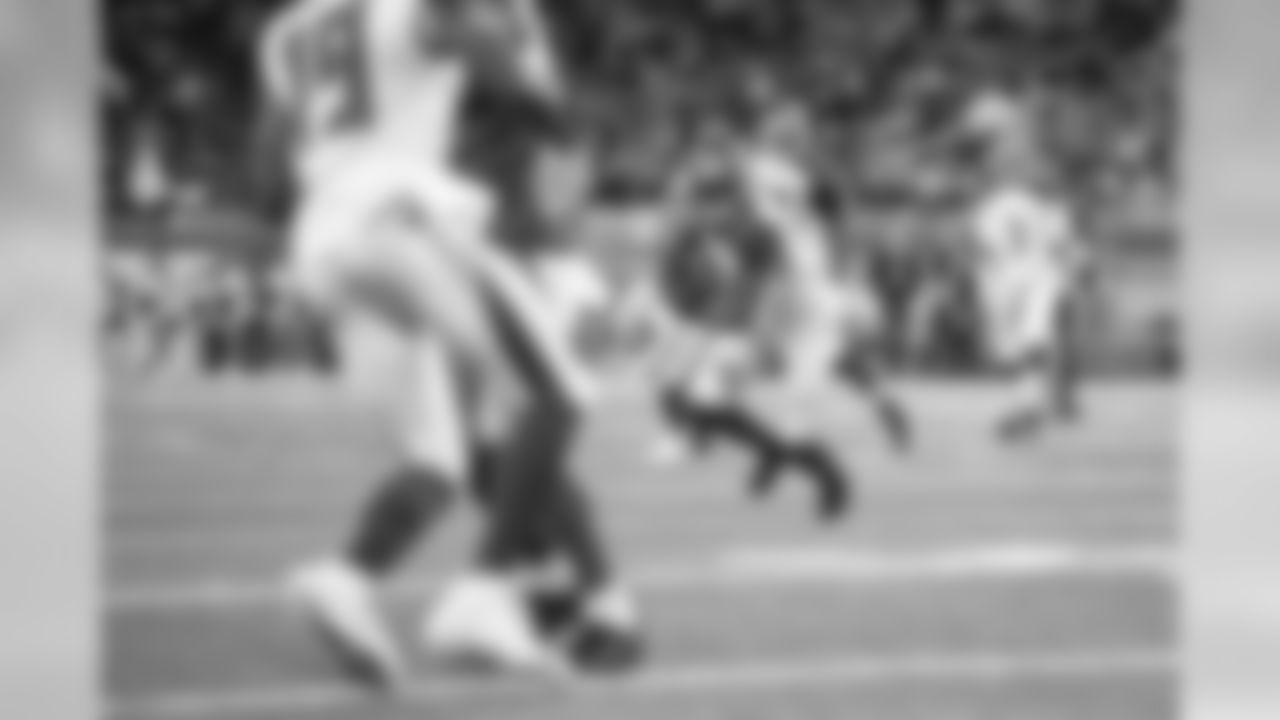
WR Breshad Perriman, No. 19
WR Breshad Perriman, No. 19
WR Breshad Perriman, No. 19 & ILB Lavonte David, No. 54
WR Justin Watson, No. 17, WR Breshad Perriman, No. 19 & OLB Carl Nassib, No. 94

WR Scotty Miller, No. 10
WR Scotty Miller, No. 10

WR Scotty Miller, No. 10
CB Sean Murphy-Bunting, No. 26
DL Rakeem Nunez-Roches, No, 56, OLB Shaquil Barrett, No. 58 & DL Will Gholston, No. 92
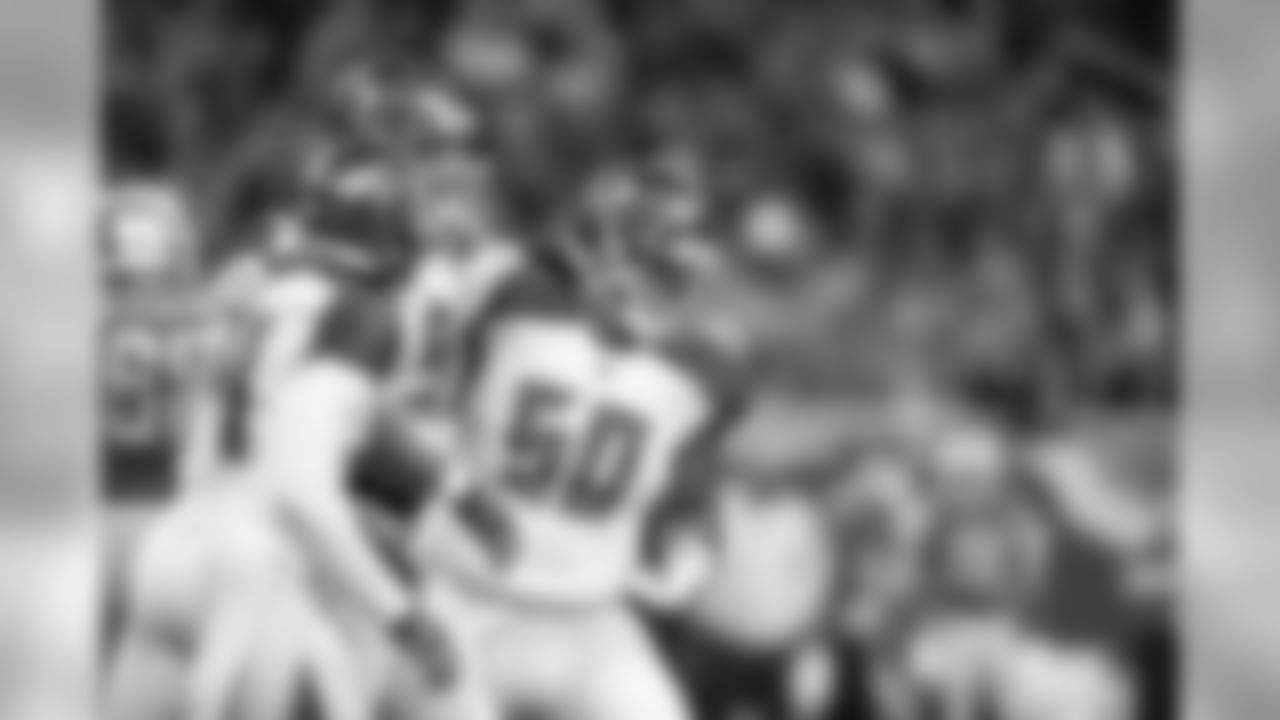
DL Vita Vea, No. 50, ILB Lavonte David, No. 54 & DL Ndamukong Suh, No. 93
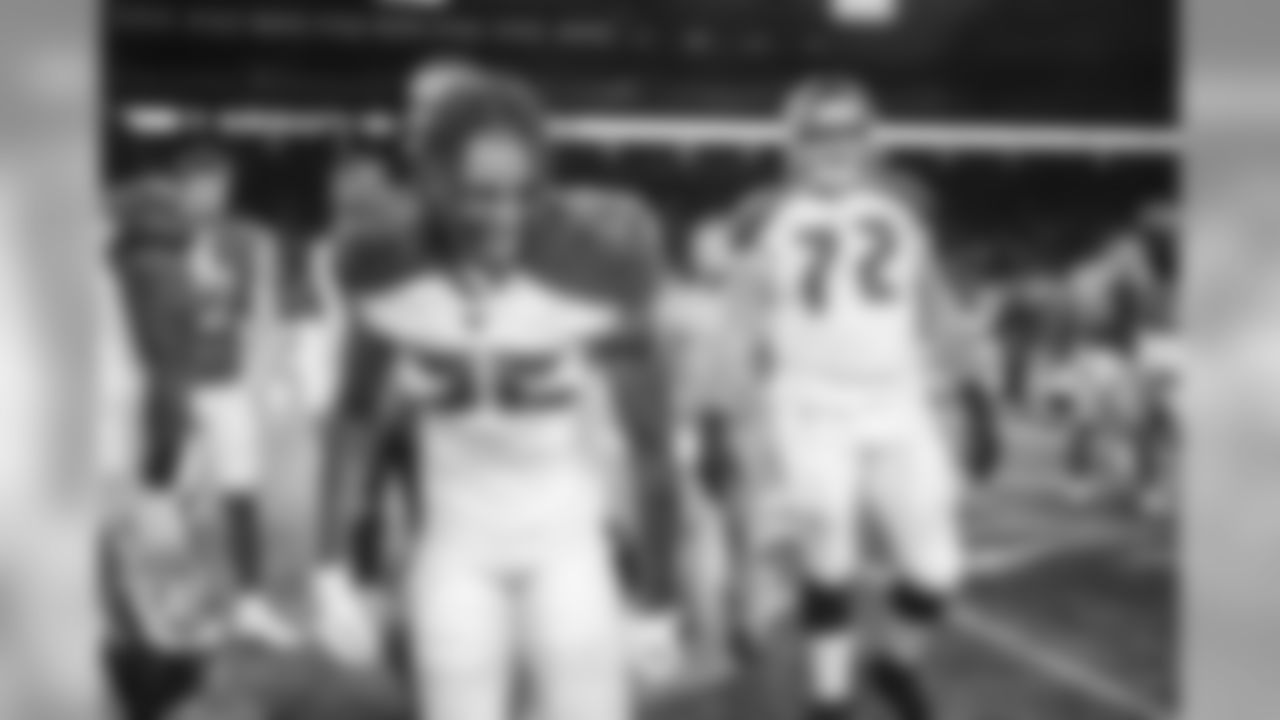
QB Jameis Winston, No. 3 & T Josh Wells, No. 72

DL Will Gholston, No. 92
WR Breshad Perriman, No. 19
DL Ndamukong Suh, No. 93
DL Ndamukong Suh, No. 93
DL Will Gholston, No. 92
QB Jameis Winston, No. 3 & RB Ronald Jones II, No. 27
RB Ronald Jones II, No. 27
RB Ronald Jones II, No. 27
WR Scotty Miller, No. 10
WR Scotty Miller, No. 10
WR Scotty Miller, No. 10
WR Scotty Miller, No. 10
WR Chris Godwin, No. 12

WR Breshad Perriman, No. 19 & RB Dare Ogunbowale, No. 44
WR Breshad Perriman, No. 19
WR Breshad Perriman, No. 19
WR Breshad Perriman, No. 19
ILB Lavonte David, No. 54, DL Rakeem Nunez-Roches, No, 56, DL Will Gholston, No. 92 & OLB Carl Nassib, No. 94
QB Jameis Winston, No. 3
S Andrew Adams, No. 39
CB Sean Murphy-Bunting, No. 26
CB Sean Murphy-Bunting, No. 26 & S Andrew Adams, No. 39

S Jordan Whitehead, No. 31 & ILB Devin White, No. 45
S Andrew Adams, No. 39 & ILB Devin White, No. 45

S Darian Stewart, No. 24 & S Andrew Adams, No. 39
S Andrew Adams, No. 39
WR Chris Godwin, No. 12
P Bradley Pinion, No. 8, K Matt Gay, No. 9, G Ali Marpet, No. 74 & LS Zach Triner, No. 97
S Andrew Adams, No. 39 & OLB Shaquil Barrett, No. 58
Head Coach Bruce Arians
K Matt Gay, No. 9
OLB Shaquil Barrett, No. 58 & OLB Jason Pierre-Paul, No. 90
CB Sean Murphy-Bunting, No. 26 & S Mike Edwards, No. 34
Bucs vs. Lions
TE O.J. Howard, No. 80

TE Cameron Brate, No. 84
ILB Lavonte David, No. 54 & OLB Shaquil Barrett, No. 58
RB Peyton Barber, No. 25, G Alex Cappa, No. 65 & TE Tanner Hudson, No. 88

TE Tanner Hudson, No. 88
CB Sean Murphy-Bunting, No. 26

CB Sean Murphy-Bunting, No. 26
CB Sean Murphy-Bunting, No. 26
Bucs vs. Lions
CB Sean Murphy-Bunting, No. 26, S Mike Edwards, No. 34 & S Andrew Adams, No. 39

CB Sean Murphy-Bunting, No. 26, S Mike Edwards, No. 34 & S Andrew Adams, No. 39
S Darian Stewart, No. 24 & ILB Lavonte David, No. 54
WR Breshad Perriman, No. 19
WR Breshad Perriman, No. 19
WR Ishmael Hyman, No. 18 & WR Breshad Perriman, No. 19
S Darian Stewart, No. 24, CB Sean Murphy-Bunting, No. 26 & ILB Lavonte David, No. 54
CB Carlton Davis, No. 33, S Mike Edwards, No. 34 & ILB Devin White, No. 45
DB M.J. Stewart, No. 36, CB Mazzi Wilkins, No. 37 & S Andrew Adams, No. 39

RB Peyton Barber, No. 25

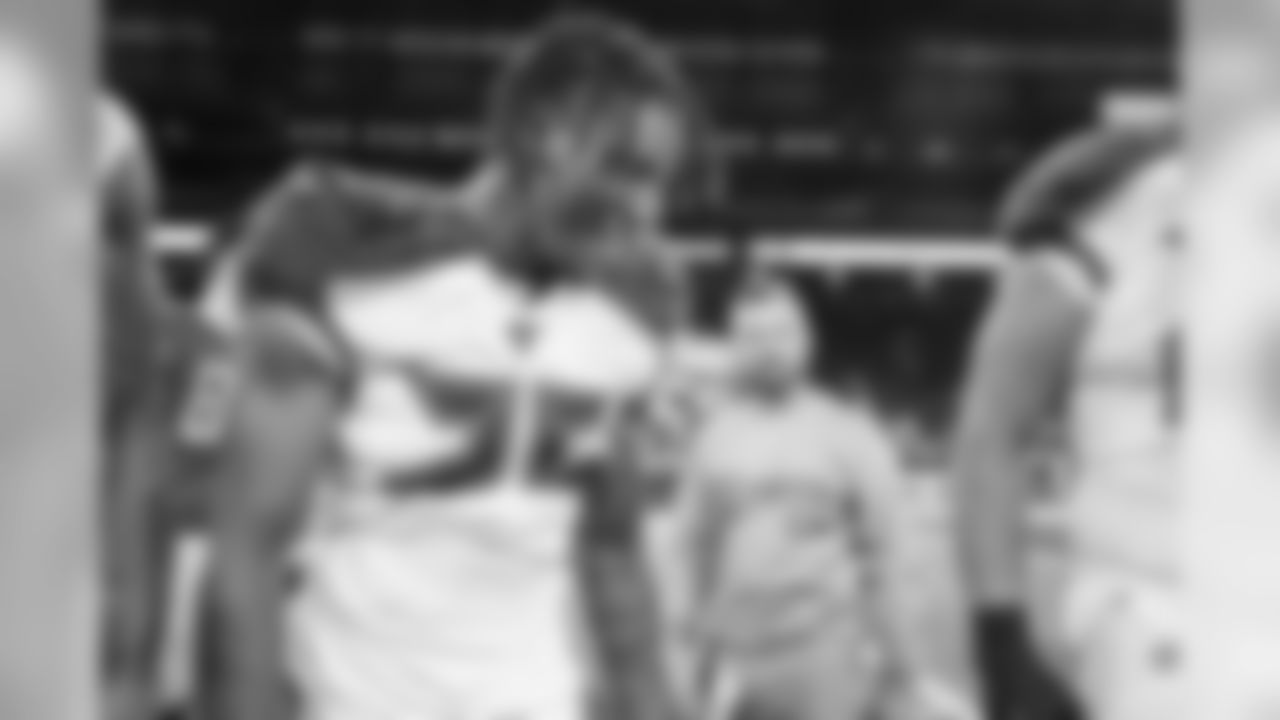
T Josh Wells, No. 72
RB Peyton Barber, No. 25

WR Justin Watson, No. 17
OLB Jason Pierre-Paul, No. 90

WR Breshad Perriman, No. 19
QB Jameis Winston, No. 3 & OT Jerald Hawkins, No. 70

QB Jameis Winston, No. 3 & OC Byron Leftwich
QB Jameis Winston, No. 3 & OC Byron Leftwich

ILB Devin White, No. 45

ILB Devin White, No. 45 & ILB Lavonte David, No. 54
DL Will Gholston, No. 92
CB Sean Murphy-Bunting, No. 26, S Mike Edwards, No. 34, CB Jamel Dean, No. 35, S Andrew Adams, No. 39 & ILB Devin White, No. 45
S Mike Edwards, No. 34, CB Carlton Davis, No. 33, CB Jamel Dean, No. 35 & CB Mazzi Wilkins, No. 37
CB Carlton Davis, No. 33, CB Jamel Dean, No. 35 & CB Mazzi Wilkins, No. 37

DL Ndamukong Suh, No. 93

DL Ndamukong Suh, No. 93
DL Vita Vea, No. 50 & DL Rakeem Nunez-Roches, No, 56
CB Sean Murphy-Bunting, No. 26 & S Mike Edwards, No. 34
CB Sean Murphy-Bunting, No. 26, CB Mazzi Wilkins, No. 37 & ILB Devin White, No. 45
CB Sean Murphy-Bunting, No. 26 & ILB Devin White, No. 45

CB Sean Murphy-Bunting, No. 26
CB Sean Murphy-Bunting, No. 26 & T Josh Wells, No. 72
CB Sean Murphy-Bunting, No. 26
CB Sean Murphy-Bunting, No. 26
ILB Lavonte David, No. 54

Head Coach Bruce Arians & CB Coach Kevin Ross
ILB Devin White, No. 45 & LB Noah Dawkins, No. 52