Pictures from the Buccaneers' Week 13 match-up with the Chargers.
58 LB Kwon Alexander

3 QB Jameis Winston

3 QB Jameis Winston
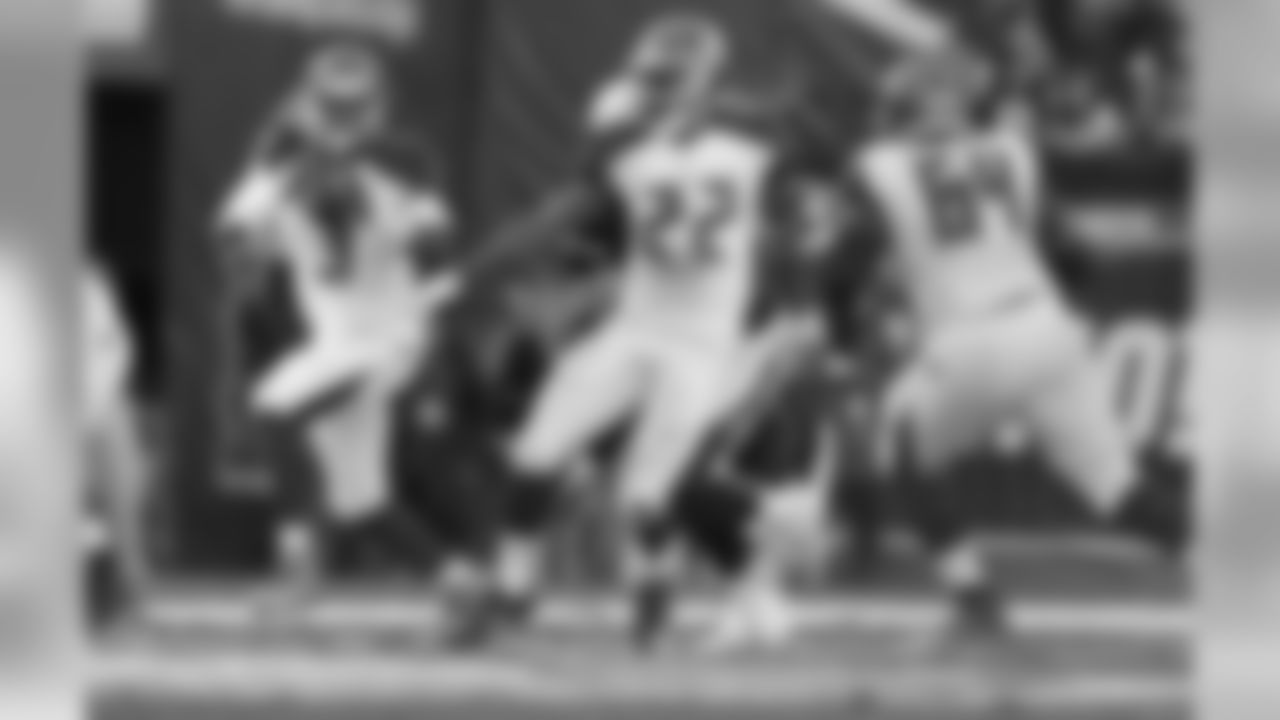
22 RB Doug Martin

22 RB Doug Martin

22 RB Doug Martin

3 QB Jameis Winston
93 DT Gerald McCoy
91 DE Robert Ayers

93 DT Gerald McCoy
93 DT Gerald McCoy and #98 DT Clinton McDonald
28 CB Vernon Hargreaves

3 QB Jameis Winston

3 QB Jameis Winston
13 WR Mike Evans
22 RB Doug Martin
22 RB Doug Martin

22 RB Doug Martin

22 RB Doug Martin
22 RB Doug Martin
13 WR Mike Evans
11 WR Adam Humphries

11 WR Adam Humphries
11 WR Adam Humphries

22 RB Doug Martin

22 RB Doug Martin

22 RB Doug Martin
3 QB Jameis Winston and #22 RB Doug Martin

Bucs offense

19 K Roberto Aguayo
30 S Bradley McDougald

92 DE William Gholston

37 S Keith Tandy
57 DE Noah Spence
84 TE Cameron Brate
3 QB Jameis Winston

3 QB Jameis Winston

3 QB Jameis Winston

84 TE Cameron Brate

3 QB Jameis Winston

Head Coach Dirk Koetter

54 LB Lavonte David
54 LB Lavonte David

37 S Keith Tandy

3 QB Jameis Winston

54 LB Lavonte David
16 WR Freddie Martino

Head Coach Dirk Koetter and #3 QB Jameis Winston
91 DE Robert Ayers
28 CB Vernon Hargreaves

93 DT Gerald McCoy
54 LB Lavonte David

30 S Bradley McDougald and #3 QB Jameis Winston

84 TE Cameron Brate
Bucs defense
32 RB Jacquizz Rodgers
97 DT Akeem Spence
54 LB Lavonte David and #58 LB Kwon Alexander

26 CB Josh Robinson and #54 LB Lavonte David
54 LB Lavonte David

Head Coach Dirk Koetter and #77 OL Caleb Benenoch
Head Coach Dirk Koetter and #3 QB Jameis Winston
Bucs defense

28 CB Vernon Hargreaves
84 TE Cameron Brate

84 TE Cameron Brate
84 TE Cameron Brate
13 WR Mike Evans

3 QB Jameis Winston

16 WR Freddie Martino
19 K Roberto Aguayo
16 WR Freddie Martino

54 LB Lavonte David

92 DE William Gholston
84 TE Cameron Brate
32 RB Jacquizz Rodgers
32 RB Jacquizz Rodgers
32 RB Jacquizz Rodgers

13 WR Mike Evans
76 OT Donovan Smith and #22 RB Doug Martin
69 OT Demar Dotson, #22 RB Doug Martin, and #3 QB Jameis Winston

91 DE Robert Ayers

91 DE Robert Ayers
91 DE Robert Ayers

58 LB Kwon Alexander and #91 DE Robert Ayers
58 LB Kwon Alexander

84 TE Cameron Brate

84 TE Cameron Brate
54 LB Lavonte David

37 S Keith Tandy and #30 S Bradley McDougald

31 S Major Wright, #58 LB Kwon Alexander, #53 LB Adarius Glanton

Head Coach Dirk Koetter

58 LB Kwon Alexander, Head Coach Dirk Koetter, and #54 LB Lavonte David

58 LB Kwon Alexander and #54 LB Lavonte David

Bucs vs. Chargers

Bucs vs. Chargers
1. TE Cam Brate
Brate has emerged as one of Jameis Winston's go-to targets, particularly in the red zone. Brate caught a 12-yard touchdown from Winston, his sixth of the season, which would ultimately be the game-winner. He led Tampa Bay in receptions (6), targets (9) and yards (86). Mike Evans had the second-most targets with six.
WATCH: LEARN MORE ABOUT BRATE
2. LB Lavonte David
The Buccaneers took their first lead of the game in the third quarter when David picked off Philip Rivers and returned it 15 yards for a score. It proved to be a turning point in the game. Although San Diego would re-claim the lead minutes later, David's intereception helped Tampa Bay outscore their opponent, 21-7, in the second half.
**
- WR Freddie Martino**
Both Cecil Shorts and Adam Humphries were sidelined with injuries and unable to return to Sunday's game. Martino was called on often in their absence and took full advantage of his opportunity. He hauled in four passes, second to only Brate, and finished the day with 56 receiving yards. Martino had just four career catches for 52 yards heading into the game.
WATCH: BUCS VS. CHARGERS HIGHLIGHTS
4. S Keith Tandy
Tandy got the start in place of Chris Conte, who didn't suit up due to a chest injury. With San Diego driving late in the game, Tandy intercepted Rivers at the goal line, ending the Chargers' final drive. Tandy also recorded five tackles, four of which were solo.
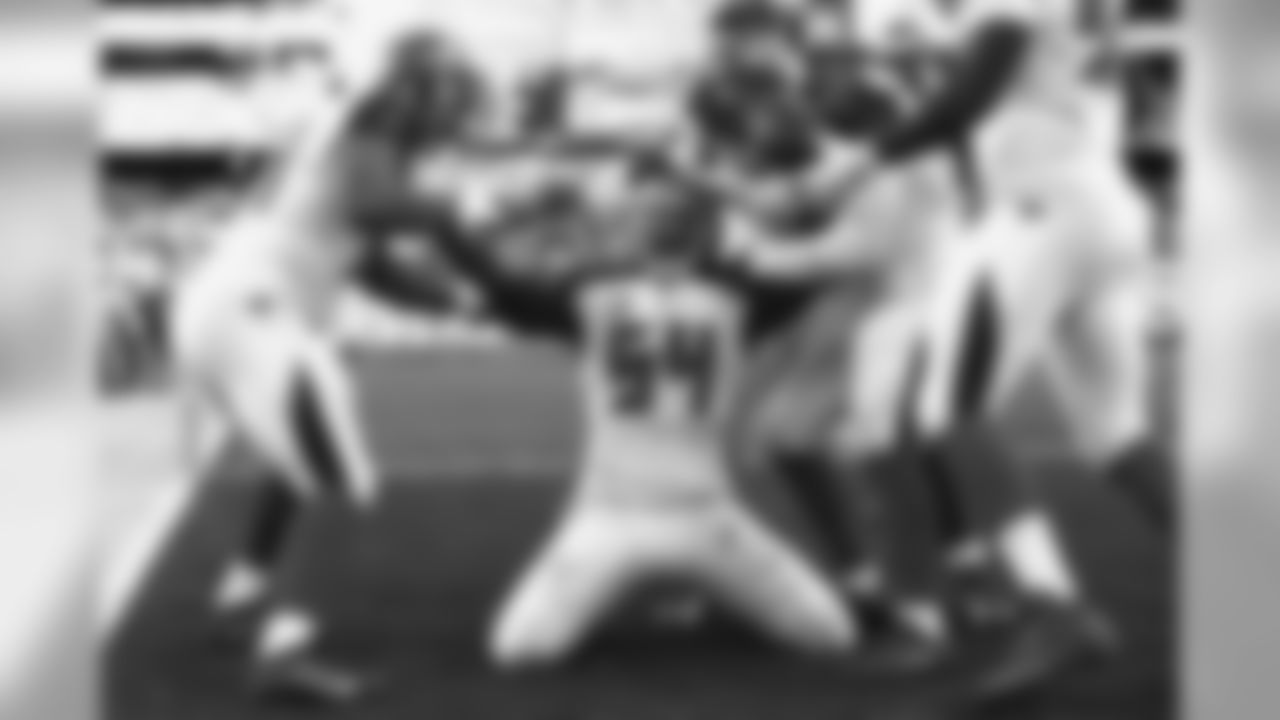
5. DT Gerald McCoy
McCoy was hurting; he was listed as questionable on the injury report heading into Sunday's game. That didn't stop him from recording his seventh sack of the season, picking up a crucial sack in the first half. McCoy took Rivers down on third down with the Chargers already in field goal range, forcing San Diego to attempt a long field goal, which was ultimately missed. McCoy leads all NFL defensive tackles in sacks through 13 weeks.